Making Bean-to-Bar Chocolate
the Authentic way

In recent years the bean to bar chocolate making process has seen a rise in popularity as user-friendly equipment becomes more readily available. Advances in chocolate making equipment have taken us a long way from the Mayan method of grinding cocoa nibs by hand to make a chocolate drink. However, user friendly equipment is only one part of the bean to bar process. Learning to make and sell your own chocolate is an exciting prospect; but, in order to be successful, the process also involves investing the time to learn the chocolate making process. Learning the sources of cocoa beans and perfecting your own recipe are just as important as having the right equipment. Below is a synopsis of the general chocolate making process: how chocolatemakers roast, crack, winnow, grind, conch and temper to produce award winning chocolates.
There are four major varieties of beans:
• Forastero: The hardiest and most productive variety of cocoa, likely originated in Amazon basin. Grown around the world, Forastero beans account for over 90% percent of the world’s cacao.
• Criollo: The rarest and most prized cocoa beans. Known for its delicate fragrance and complex flavor, this bean is native to regions consisting of current day Columbia and Venezuela, though it was found throughout Mesoamerica. Criollo beans account for less than 1% of the world’s cocoa.
• Trinitario: A hybrid of the flavorful Criollo and hardy Forastero beans, Trinitario beans are considered “flavor beans” and originated in Trinidad. These beans account for less than 5% of the world’s cacao.
• Nacional or Arriba: Cacao from Ecuador, considered a finer strain of Forastero.
• Other Rare varieties of beans such as Piurra, Cincho are also used to make chocolate.
• Beans from related species such as Theobroma Bicolor, Theobroma Grandiflora (Cupuacu in Brazil) are also made into chocolate.
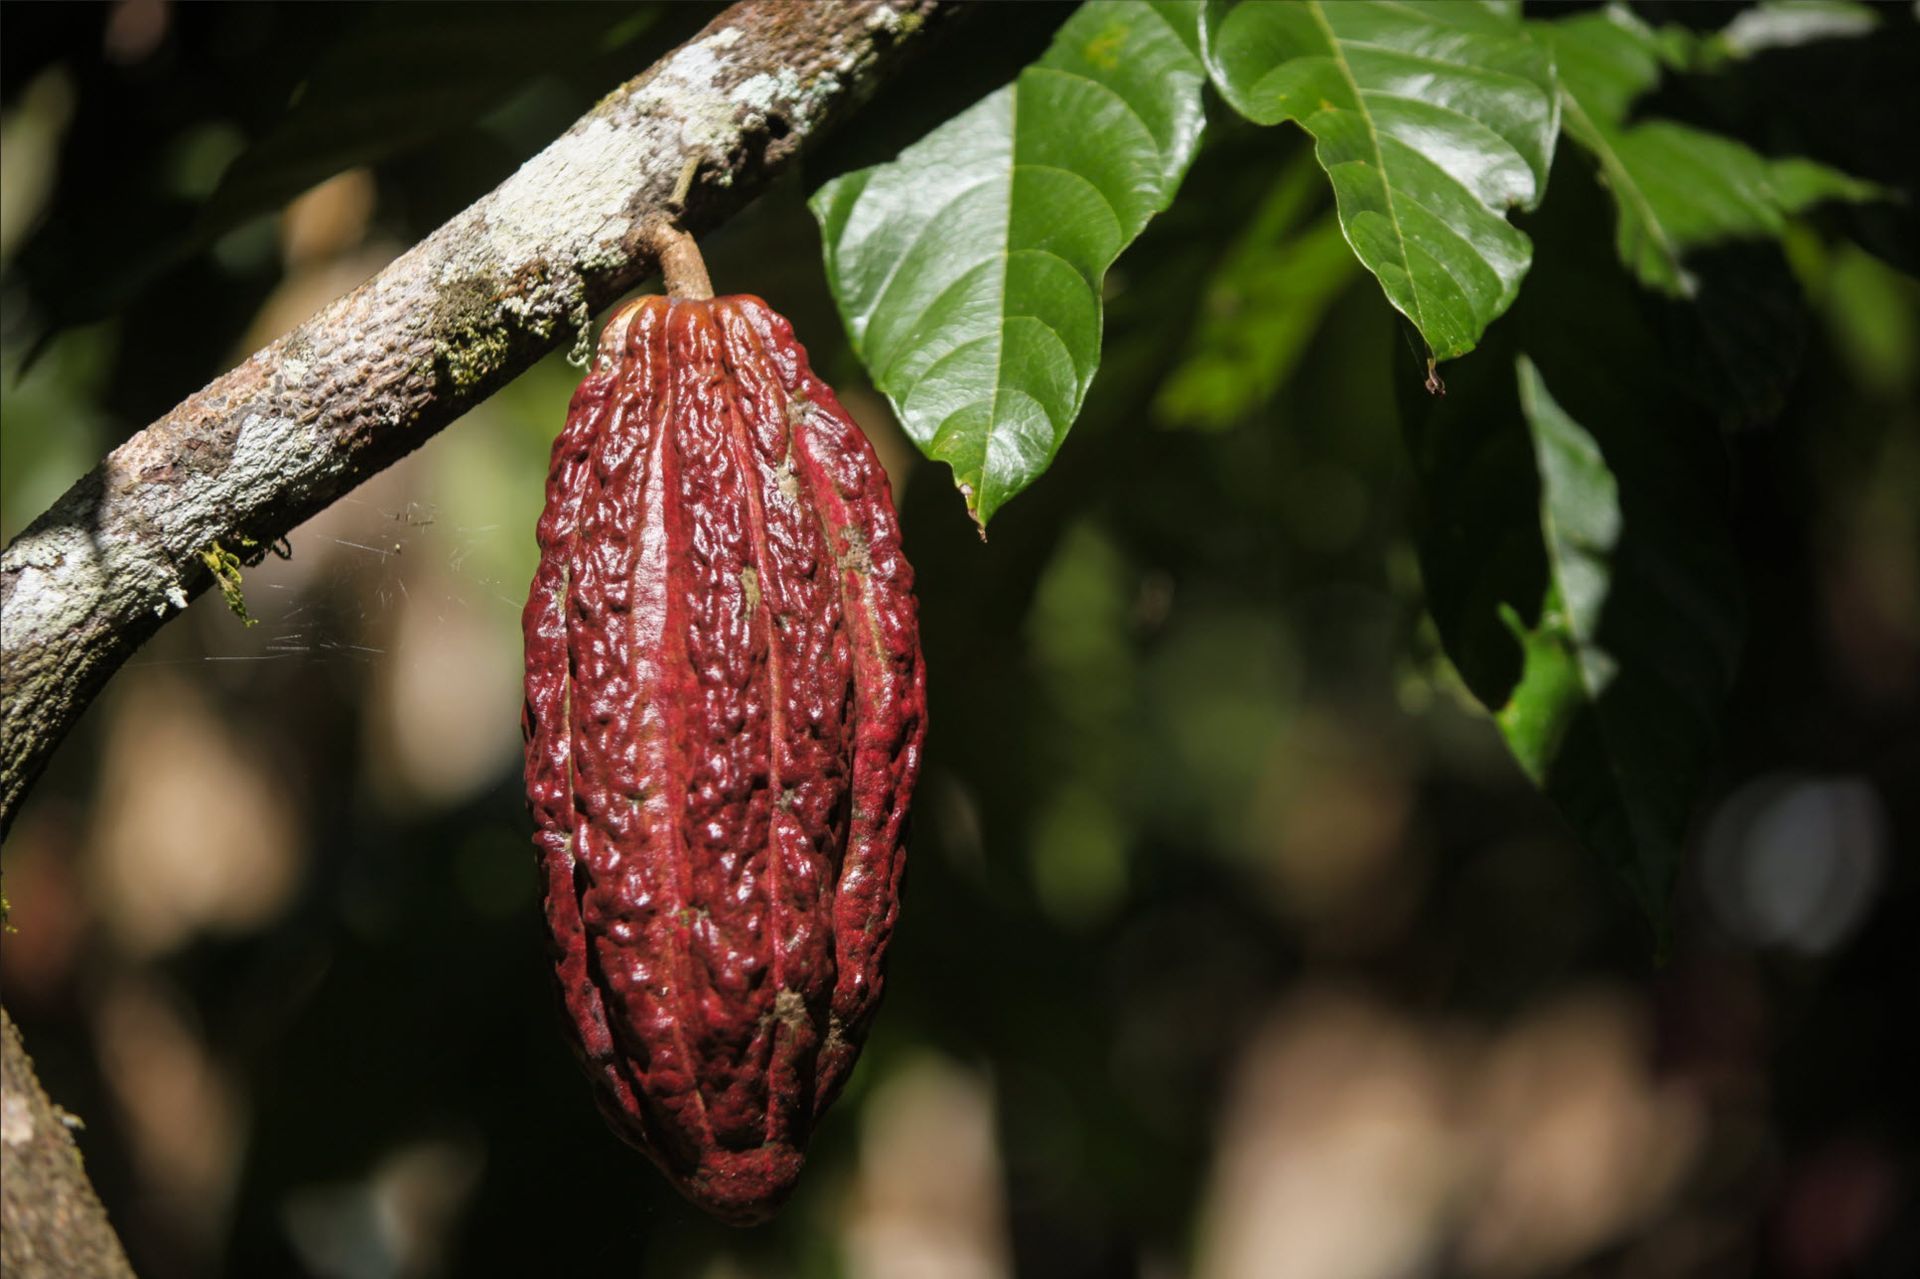
Just like coffee beans, cocoa beans have characteristics specific to their geographical origin. The cocoa butter content and flavor profiles are unique to a certain region and variety of beans. Cocoa farmers harvest and cut the pods to expose the cocoa beans and pulp. The beans and pulp are then placed in fermentation baskets, or wooden troughs, for several days. During the fermentation process, the pulp drains away and the beans develop a darker color and flavor. The fermented beans are then dried in the sun. The drying process reduces the moisture content in the beans from about 60% to approximately 6%. Both the fermentation and drying processes happen in the fields where the cocoa trees are cultivated. A handful of chocolate makers are quite knowledgeable in the finesse these processes require, and help educate the farmers to ensure that these processes are completed correctly. Once the beans are dried, they are inspected and sold. So, when you buy the beans, you can concentrate on the chocolate making process.
The next step is roasting, which drives away the moisture from the beans, develops the flavors and kills any bacteria that may be present. If you use a conventional oven, place the beans in a single layer and roast them according to the requirements of your recipe and beans. Make sure to stir the beans intermittently to ensure uniform heating. For small-scale operations, CocoaT roasters with rotating drums help ensure consistent results with minimum intervention. Roasting time varies from 20-45 minutes after the beans reach the 135C depending on the bean variety, origin and cocoa butter content. Roasted beans must be cooled immediately to stop the roasting process (this prevents over-roasting or burning of the beans).
The roasted beans are then cracked to expose the cocoa nibs (the pieces of the cocoa bean that has cocoa solids and cocoa butter) inside the shell. Cracking the beans in a small quantity can be done with rolling pins (that roll the dough for cookies, flat bread etc), mini pregrinders, or manually peeling the shell by hand. For larger quantities, one can use CocoaT manual or power Crackers. These special crackers break the beans into bigger pieces and also pulls the shells away from the nibs.
Winnowing process separates the nibs from the husk (broken shell pieces). Winnowing can be done using a fan, hair dryer or using special tools to toss it in the air or sophisticated winnowers. CocoaT basic or deluxe Winnowers and InnoWinnow commercial winnowers collect the husk in closed containers. They separate the nibs and husks very well resulting in clean nibs for high quality nibs and minimum waste of resources. The clean nibs are then ground for 24-72 hours to make chocolate liquor. One can use a mini pregrinder to powder the nibs (which reduces the grinding time in the melanger), screw type extruders to make a paste, or added to a melanger or grinder directly. Melangers/Grinders combine the age-old stone-on-stone grinding technique with the modern convenience of electricity. Grind the nibs to size of at least 90 microns and then add sugar. All the melangers/grinders from CocoaTown grind the chocolate liquor to 15-18μ size.
Pre-grinding the sugar helps especially when using palm sugar, coconut sugar, or any special sugar with bigger crystals. One piece of advice is to avoid beet sugar, maple sugar, agave sugar etc. that make the chocolate liquor viscous (it prevents the chocolate from flowing freely). Many kinds of alternate sweeteners such as allulose absorb moisture in the air and affect the viscosity of the chocolate liquor. Store bought powdered sugar or confectionary sugar is also not recommended as it contains desiccators like corn starch which alters the viscosity of the chocolate liquor. If the chocolate liquor is viscous for any reason, the grinding speed slows down and takes longer to complete the grinding process. Adding the sugar at the right time is imperative to the texture and taste of the chocolate.
The conching process involves exposing the chocolate liquor to air to drive away volatiles and develop the right flavor for chocolate. The speed, temperature, and duration of the conching process determine the final texture and flavor. In CocoaTown melangers and grinders, grinding and conching happens simultaneously if the sugar is added at the right time.
The next step is tempering the chocolate. This can be done with a tempering machine or by hand on a marble slab. Heat the melted chocolate to 110-117 F°, then slowly cool it to 88-90 F° by stirring in finely-chopped cold chocolate pieces. The process of heating and cooling should be repeated a few times. The tempering process creates the snap and shine that is expected in the finished chocolate. The temperature curve for tempering process varies with the type of chocolates made – White chocolate, dark chocolate, milk chocolate. One can also buy silk (tempered cocoa butter crystals) or make silk from cocoa butter and add it to the chocolate liquor to temper it. More sophisticated way of tempering is to use a tempering machine – batch tempering or continuous tempering machines depending on the volume of chocolates made and budget.
The final step in the process is molding. Custom molds and common tools such as ice cube trays can be used to create chocolates of the desired shape and size. This is only an overview of the bean to bar process. Using the proper equipment will allow chocolate makers to customize the multiple steps in the chocolate making process, allowing them to stand out in a crowded market. Please note that the tempering steps and temperatures vary with the type of chocolates made – Dark, milk or white chocolate.
Please feel free to contact CocoaTown with your tips, questions and comments.


